Everything first-time cannabis cultivators need to know — from choosing genetics to harvest, drying, and curing. Start your grow journey here.
Your genetics determine 60% of your final product quality. Before buying seeds, consider your experience level, growing environment, desired effects, and available space.
Part 1: Choosing Your Genetics
Key factors to consider when selecting seeds:
- Experience level — Beginners should start with forgiving strains like Cherry Mint
- Growing environment — Indoor vs. outdoor dictates strain selection
- Desired effects — Energizing (sativa) vs. relaxing (indica) vs. balanced (hybrid)
- Space — Compact strains for small tents, taller sativas for rooms/outdoors
What to avoid as a beginner: Pure sativas with 12+ week flowering times. They are rewarding but demand precise environmental control and patience.
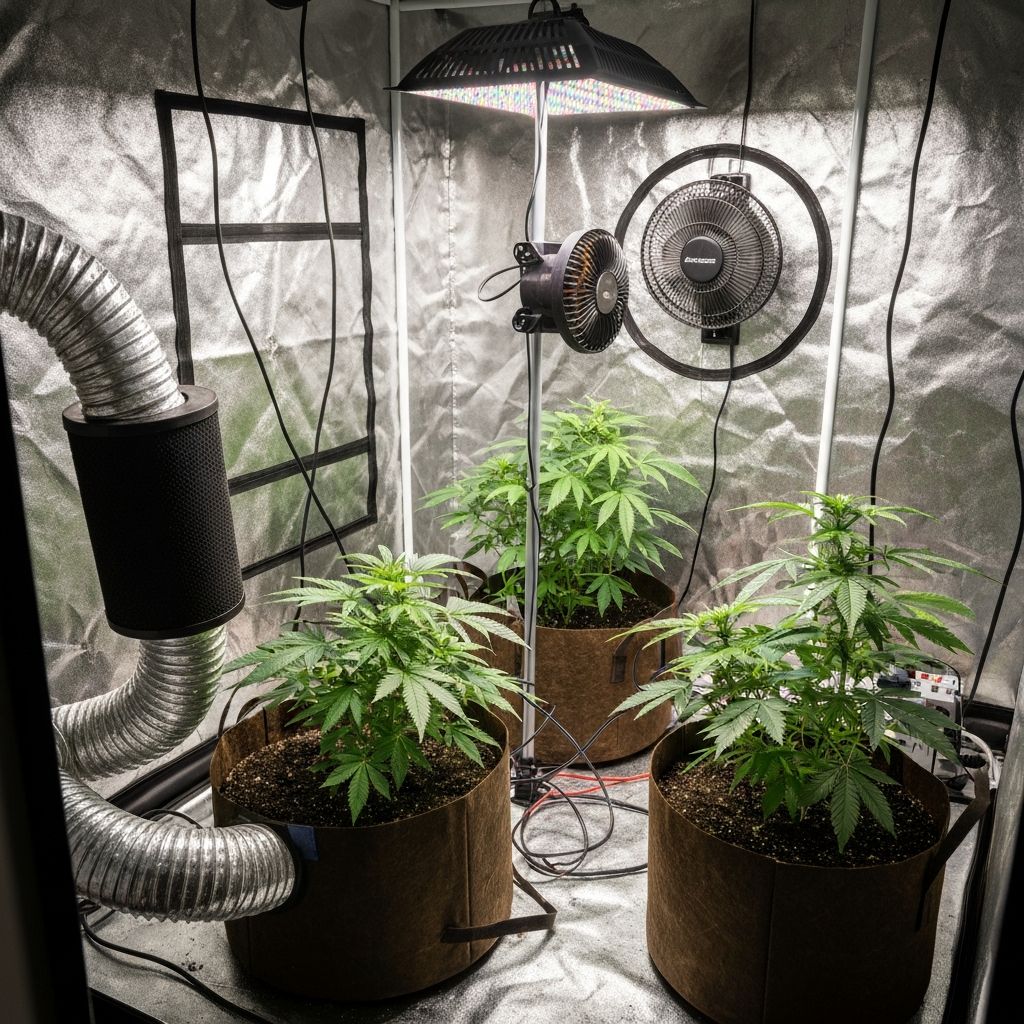
Part 2: Setting Up Your Grow Space
Budget Indoor Setup (~$300-500)
- 2x4 or 3x3 grow tent ($60-100)
- LED grow light, 150-250W actual draw ($100-200)
- Inline fan + carbon filter ($60-80)
- Clip fan for circulation ($15)
- Timer for light cycle ($10)
- pH meter ($15-30)
- Fabric pots, 3-5 gallon ($10-15)
- Quality soil + perlite ($20-30)
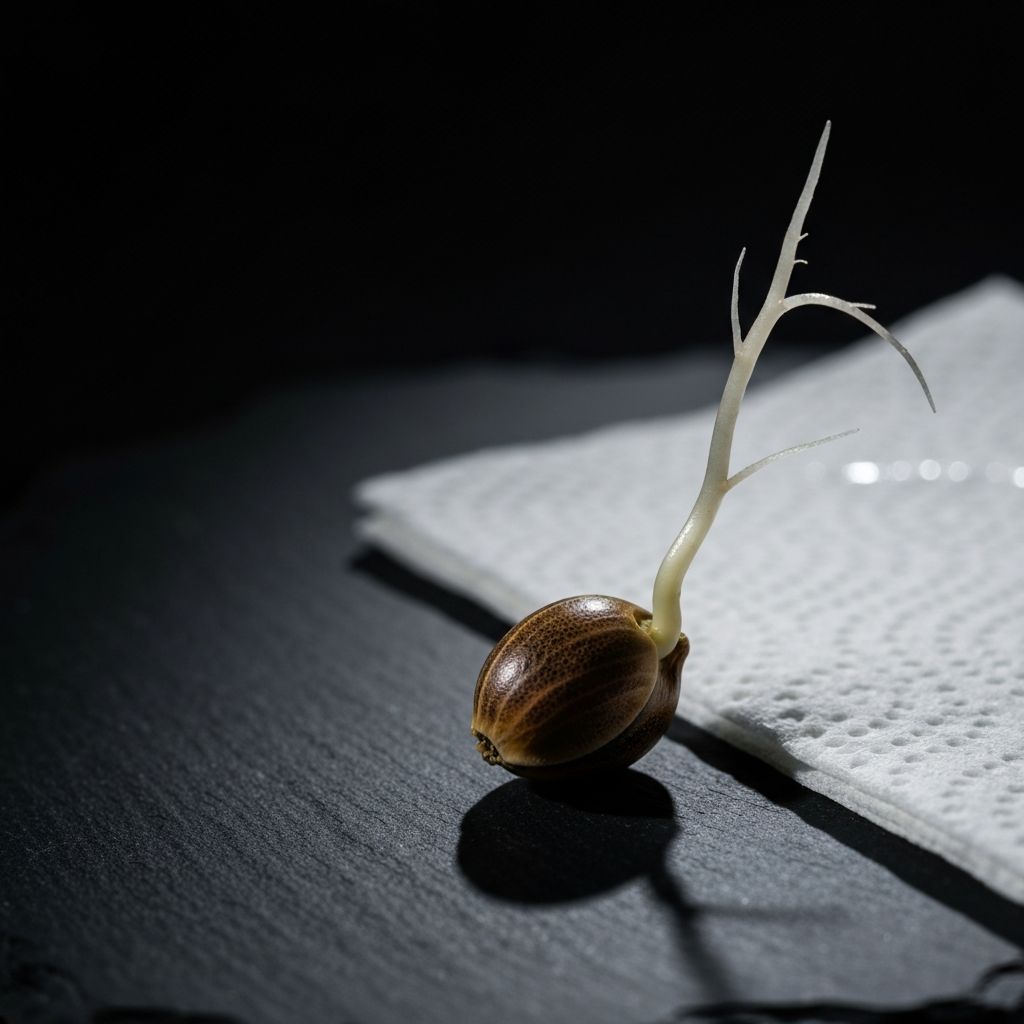
Part 3: Germination
Recommended Method: Paper Towel
- 1. Soak seeds in room-temp water for 12-24 hours until they sink
- 2. Transfer to paper towels — place seeds between damp (not soaked) paper towels, between two plates
- 3. Store in warm, dark place — 75-80°F is ideal
- 4. Check daily — add water to keep towels damp
- 5. Plant when taproot is 1/2 inch — typically 24-72 hours
Planting
- Use pre-moistened soil in your pot
- Make a 1/4-1/2 inch hole with a pencil
- Place seed taproot-down
- Cover lightly, do not pack soil
- Mist the surface — do NOT soak
Part 4: Seedling Stage (Weeks 1-2)
What to expect: First round leaves (cotyledons), then first true serrated leaves.
Key Rules
- Light: Keep at 18-24 inches above canopy, 200-300 PPFD
- Water: Less is more. Water around the seedling, not on it. Let soil dry between waterings
- Nutrients: None yet — good soil has enough for 2-3 weeks
- Temperature: 75-80°F, 65-70% humidity
- Airflow: Gentle fan, not blowing directly on the seedling
Common Mistakes
- Overwatering (the #1 killer)
- Too much light too soon
- Disturbing the seed before it sprouts
- No drainage holes in container
Part 5: Vegetative Growth (Weeks 3-8+)
This is where growth explodes. Plants can double in size weekly under optimal conditions.
Nutrient Introduction
- Start at 1/4 strength at week 2-3
- Ramp to 1/2 strength by week 4
- Full strength by week 5-6
- Use a "grow" formula high in nitrogen (N)
Training (Start at Week 3-4)
- LST (Low Stress Training): Bend and tie stems to create an even canopy
- Topping: Cut the main growing tip at the 5th node to create two tops
- These techniques dramatically increase yield for minimal effort
When to Flip to Flower
- When plants reach 40-50% of your desired final height
- Sativas stretch more (2-3x) than indicas (1.2-1.5x)
- Most beginners should veg for 4-6 weeks
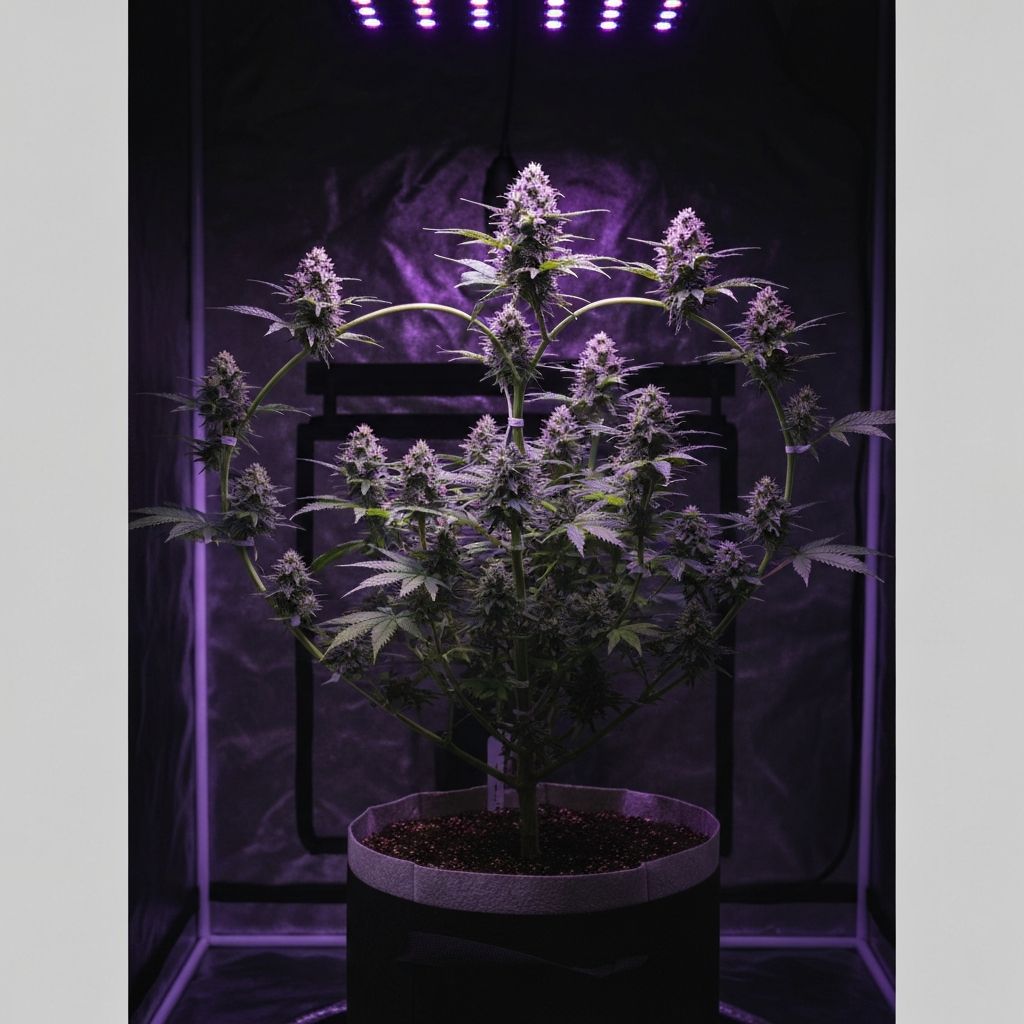
Part 6: Flowering Stage (Weeks 8-18)
The main event. Switch your light cycle to 12/12 to trigger flowering.
Week-by-Week Overview
- Weeks 1-2: Stretch phase — rapid vertical growth
- Weeks 3-4: Flower sites form, pistils appear
- Weeks 5-6: Buds start swelling, aroma intensifies
- Weeks 7-8: Main bud development, trichomes forming
- Weeks 8-10+: Ripening, trichomes turning milky/amber
Nutrient Switch
- Change to "bloom" formula (high P and K, lower N)
- Add CalMag if using LED lighting
- Reduce nitrogen to prevent nutrient toxicity
Environmental Adjustments
- Lower humidity to 40-50% (prevents mold)
- Slight temperature drop at night enhances terpene production
- Absolute darkness during the 12 hours off — any light leak can cause stress

Part 7: Common Problems & Solutions
- Yellow leaves (lower) — Usually nitrogen deficiency. Increase N in veg, check pH
- Yellow leaves (all over) — Overwatering or root issues. Let soil dry, check drainage
- Brown leaf tips — Nutrient burn. Reduce feed strength by 25%
- Curling leaves — Heat stress or pH issues. Check temps, verify pH 6.0-7.0
- Slow growth — Usually light or root bound. Increase light or transplant
- Stretching — Light too far or too weak. Lower light or upgrade
Part 8: Harvest Timing
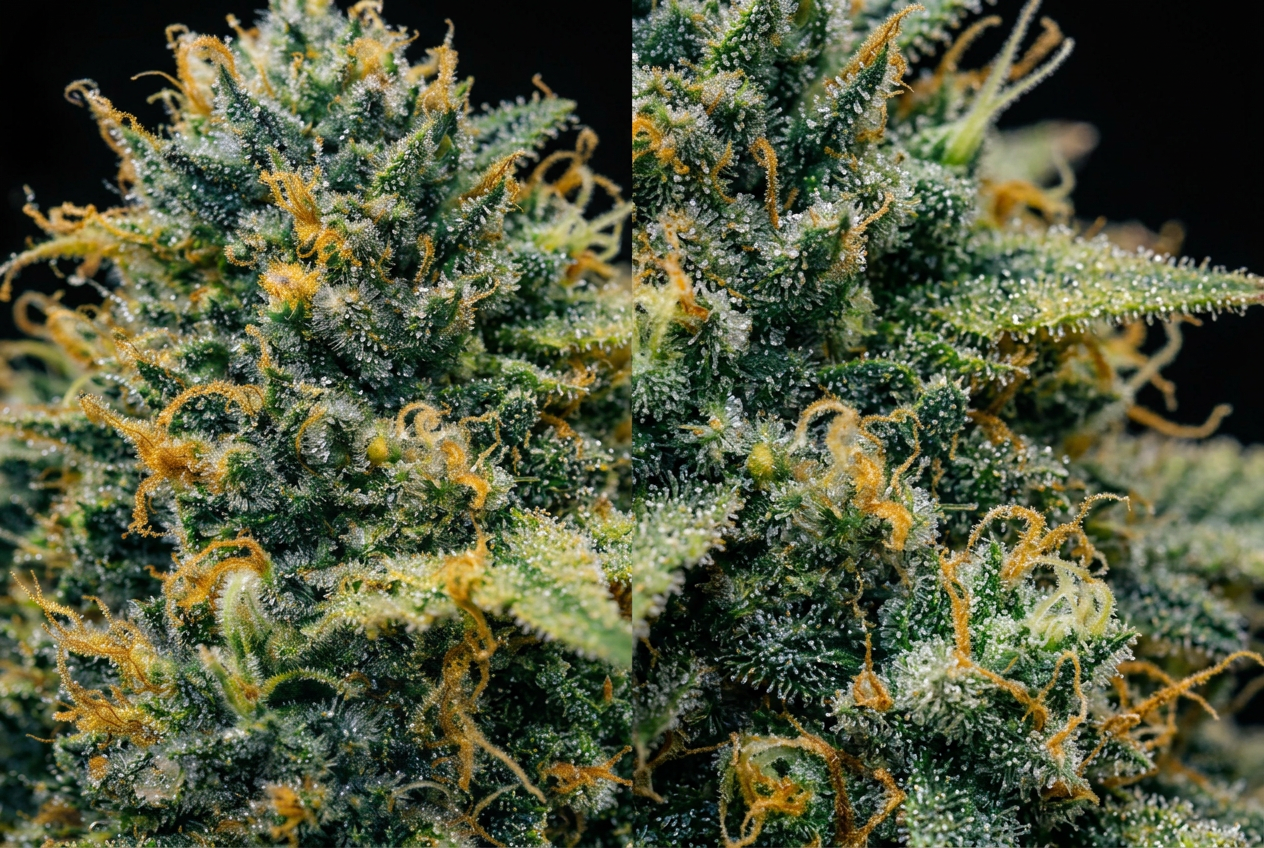
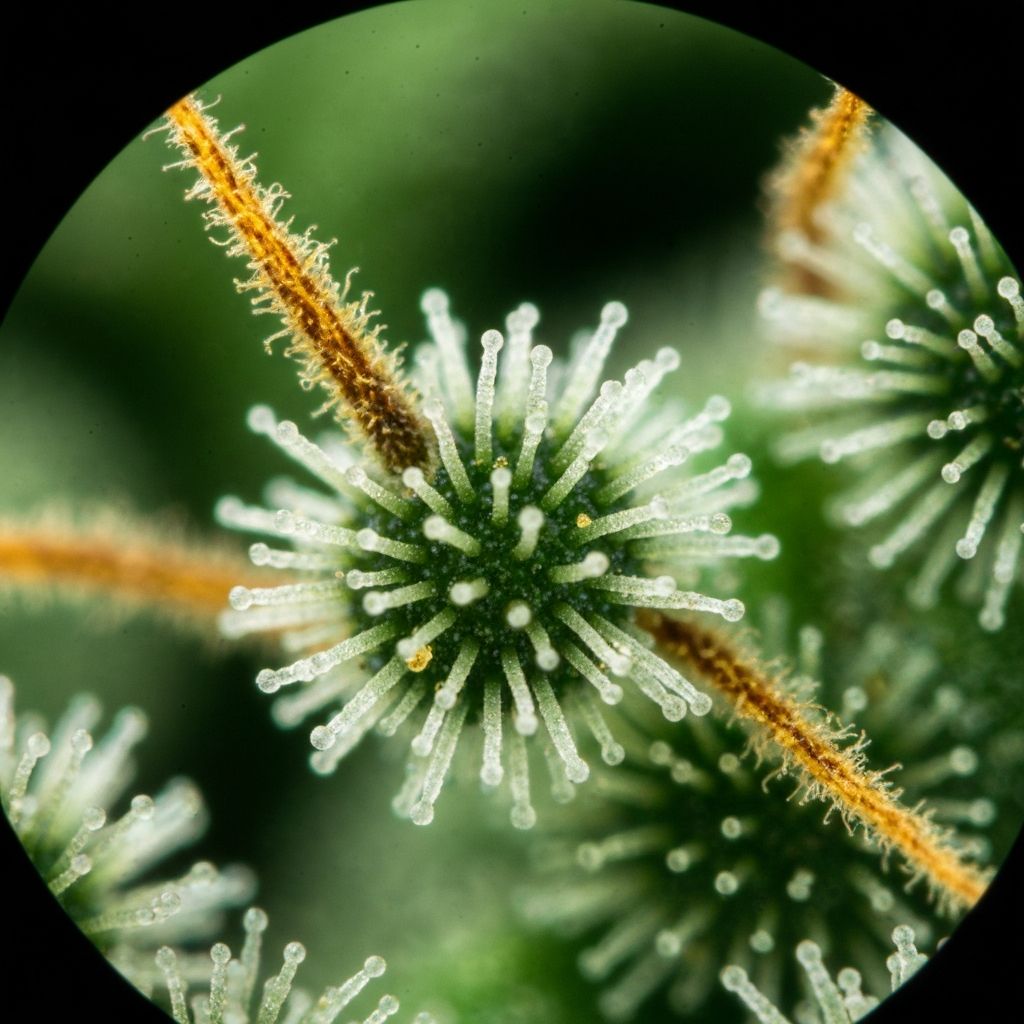
The most important skill: Reading trichomes. You will need a jewelers loupe (30-60x magnification) or digital microscope.
Trichome Stages
- Clear: Too early — low potency
- Milky/cloudy (70%): Peak THC — energetic, cerebral high
- Amber (20-30%): THC converting to CBN — more sedative, body effect
General rule: Harvest when trichomes are 70% milky, 20% amber for a balanced effect.
Pre-harvest flush: Stop feeding 10-14 days before harvest. Water with plain pH adjusted water to flush residual nutrients.
Part 9: Drying & Curing
Drying (7-14 days)
- Trim fan leaves (optional: wet trim vs. dry trim)
- Hang whole branches upside down in dark room
- Target: 60-65°F, 55-60% humidity
- Complete when small stems snap (do not bend)
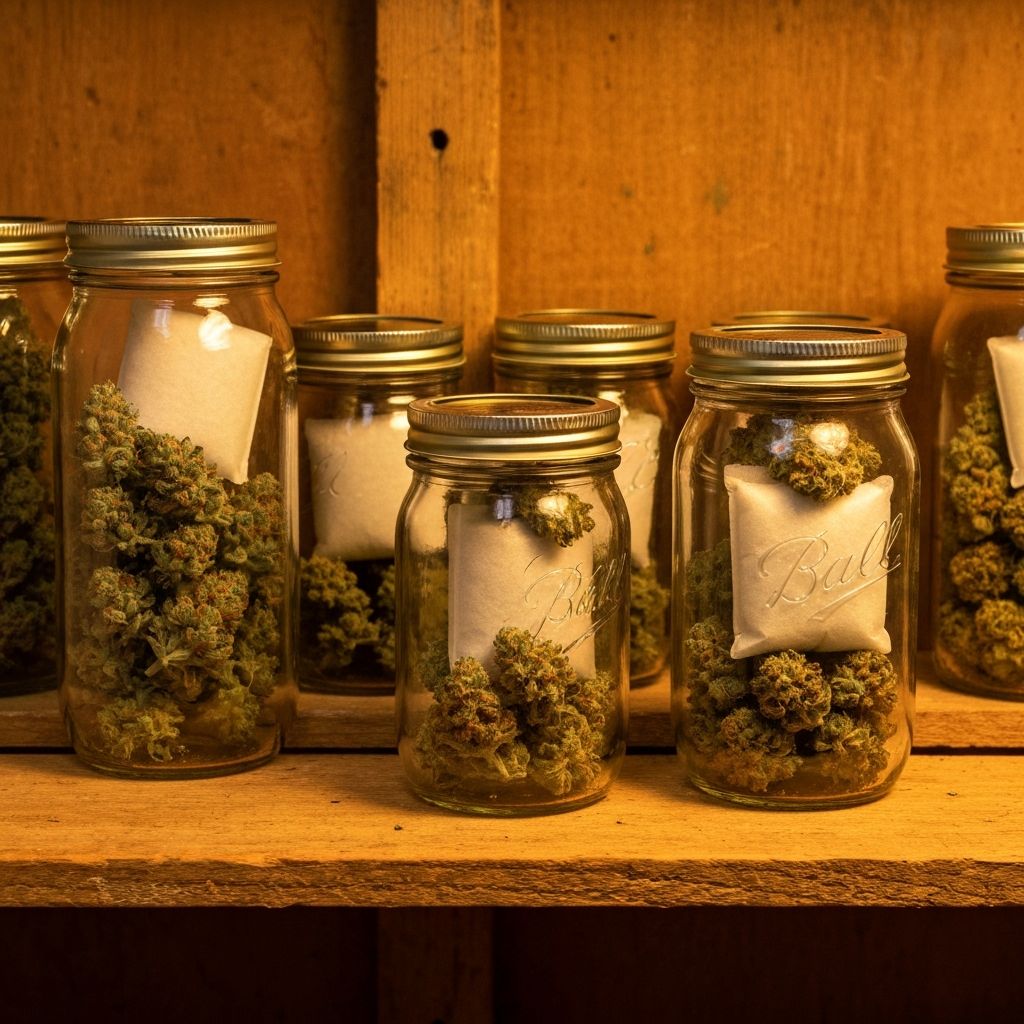
Curing (2+ weeks, ideally 4-8)
- Place trimmed buds in glass mason jars, 3/4 full
- Store in cool, dark place
- Burp jars: Open for 15 min twice daily for first week, then once daily for week 2, then every few days
- Use Boveda 62% packs for humidity control
Why cure? Curing breaks down chlorophyll (removes hay smell), develops terpene complexity, and smooths the smoke. A 4-week cure vs. no cure is night and day.
Part 10: What is Next?
Congratulations — you have completed your first grow!
Level Up Your Next Run
- Try a more challenging strain (Jack Heir or Lemon Haze)
- Experiment with SCROG training
- Add a second tent for perpetual harvest
- Track everything in a grow journal
- Join the Frontier Frost community — share results, get feedback
This guide is provided by Frontier Frost for educational purposes. Cannabis cultivation may not be legal in all jurisdictions. Always comply with local, state, and federal laws.
Frontier Frost Seeds
Ready to grow?